Tutorial - Add an Item
1. Go to the 'Add Inventory Item' screen
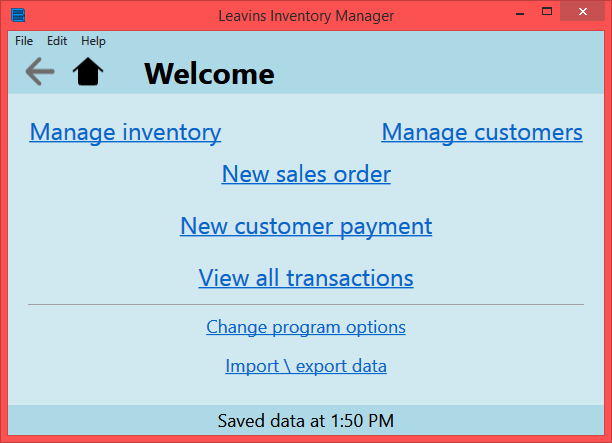
Are you already at the home page?
If you are already at the home page...
Click on the link that says 'Manage inventory.' If you see a page titled 'Manage Inventory', click on the link that says 'Add & Edit Items.'
If you are not at the home page...
Please click on the Home Button (the house near the top of the screen). Click on the link that says 'Manage inventory.' If you see a page titled 'Manage Inventory', click on the link that says 'Add & Edit Items.'
You should now be at main inventory screen. Click on the 'Add item' button located at the bottom of the 'Inventory' page.
2. Enter basic item information
You should now be at the Add Item page, and it should look like this:
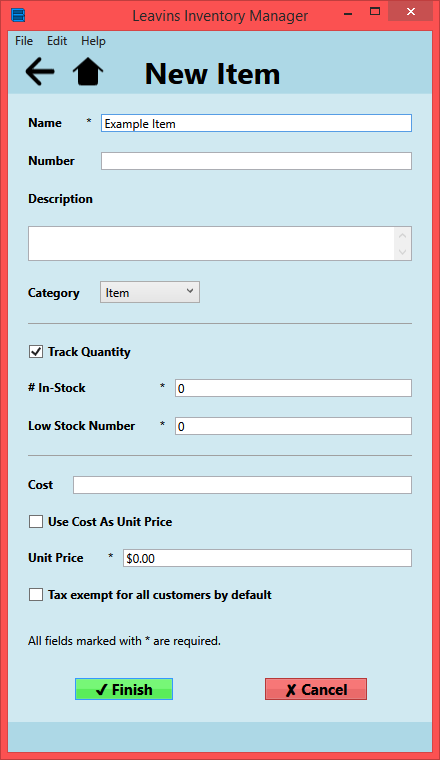
The only thing that you have to enter is a name for the item. This name will appear on customer receipts for the item, and should be a short (but good) description of the item.
Good names for items:
- Blockbuster Movie
- Blockbuster Movie DVD/Digital/Soundtrack Combo
- #2 Pencils
Non-Recommended names for items:
- BM (short for 'Blockbuster Movie'; cannot easily search for this by name)
- Blockbuster Movie - An action/adventure/romantic comedy of epic proportions (this contains in-depth item information and might make item searches difficult in the future)
- Pencil (if you stock multiple types of pencils, this might be confusing)
You can include in-depth product information in the box directly under 'Description.'
You can put an item's barcode number in the 'Number' field. This will allow you to enter items during checkout using a barcode scanner.
If Leavins Inventory Manager is tracking inventory quantities, you should see a checkbox and two fields related to quantity. The 'track inventory quantity' box is checked by default. Uncheck this box if your item represents a service (like 'Oil change') where there is no in-stock quantity. '# In-Stock' is the current in-stock quantity of the item. If the currently quantity falls below the 'Low Stock Number', the program will warn you that the item has low-stock and that you should restock it.
If your item should be 'tax exempt' by default, you should click the 'Tax exempt for all customers by default' option. If you don't know if an item should be tax exempt, feel free to ignore this option: you can always change it when you are creating a sales order for a customer.
3. (Optionally) enter cost & price for the item
You do not have to enter a cost or price for the item. But it is highly recommended that you enter a unit price because you'll have to manually set the unit price at checkout. There are two ways of entering a unit price for the item.
Automatic Unit Price Calculation
First, click on the 'Use cost as unit price' checkbox. It should now be checked. Your unit price will now be automatically calculated by the following formula:
Price = Cost + (Cost * Markup_Percentage)
For example, if you put "$1.00" as the cost, and "30%" as the markup, the price will be $1.30.
If you leave 'Cost' or 'Markup %' blank, the box will turn red, indicating that you must put a value down for either field.
Manually Set Unit Price
To manually set the unit price, just enter an amount in the box to the right of the 'Unit Price' label. If your entered amount is non-numerical, it will be reset to $0.00 automatically.
You can optionally add a value for cost if you need it for your records.